This post may contain affiliate links. If you make a purchase through these links, we may earn a commission at no additional cost to you.
Walking into a freshly decorated room can instantly lift your spirits and transform your daily experience—but the price tags attached to designer decor often bring that excitement to a screeching halt. The good news? You don’t need deep pockets to create spaces that reflect your personality and meet your needs. The secret lies in thoughtful DIY projects that deliver maximum impact without draining your bank account.
When you craft your own decor elements, you gain more than just savings. You create pieces with personal significance, tailored perfectly to your space and style preferences. DIY room transformations offer a level of customization that store-bought items simply cannot match, allowing your personality to shine through every carefully created element.
In this comprehensive guide, we’ll explore eight budget-friendly DIY room transformations that deliver professional-looking results without professional prices. From statement walls that anchor your design to personalized accent pieces that tell your story, these projects range from beginner-friendly to moderately challenging, ensuring there’s something for every skill level and time commitment.
The beauty of these transformative projects lies in their accessibility. With some creativity, basic tools, and materials that won’t break the bank, you can dramatically change how your space looks and feels. Whether you’re refreshing a tired bedroom, upgrading a bland living area, or personalizing a rental without losing your deposit, these DIY approaches offer solutions that respect both your vision and your budget.
Understanding Room Transformation Fundamentals
Before diving into specific projects, grasping a few design fundamentals will elevate your DIY decor from simply homemade to impressively designed. These principles guide professional decorators and can transform your approach to room makeovers.
Balance and focal points form the foundation of well-designed spaces. Every room benefits from a clear focal point—whether a statement wall, distinctive furniture piece, or eye-catching art installation. Once established, balance the remaining elements around this anchor. Visual weight distributes attention throughout the space, preventing any area from feeling too heavy or sparse.
Color coordination dramatically impacts how a room feels without requiring significant expense. Choose a primary color and two complementary colors for cohesion. The 60-30-10 rule offers helpful guidance: 60% of the room in your dominant color, 30% in your secondary color, and 10% in an accent color. This approach creates harmony while allowing for personality through accents.
When selecting materials for budget projects, prioritize versatility and durability. Unexpected items often yield the most impressive results: drop cloths become elegant curtains, fence boards transform into rustic shelving, and thrift store finds serve as the foundation for completely reimagined pieces. The most successful budget decorators develop an eye for potential rather than current appearance.
The essential toolkit for most DIY decor projects remains surprisingly simple: a hammer, screwdriver set, measuring tape, level, paintbrushes in various sizes, and a good pair of scissors handle most needs. As you progress, specific projects might require additional tools, but borrowing or renting specialized equipment often makes more sense than purchasing outright for occasional use.
With these fundamentals in mind, let’s explore eight transformative projects that deliver impressive results without depleting your resources.
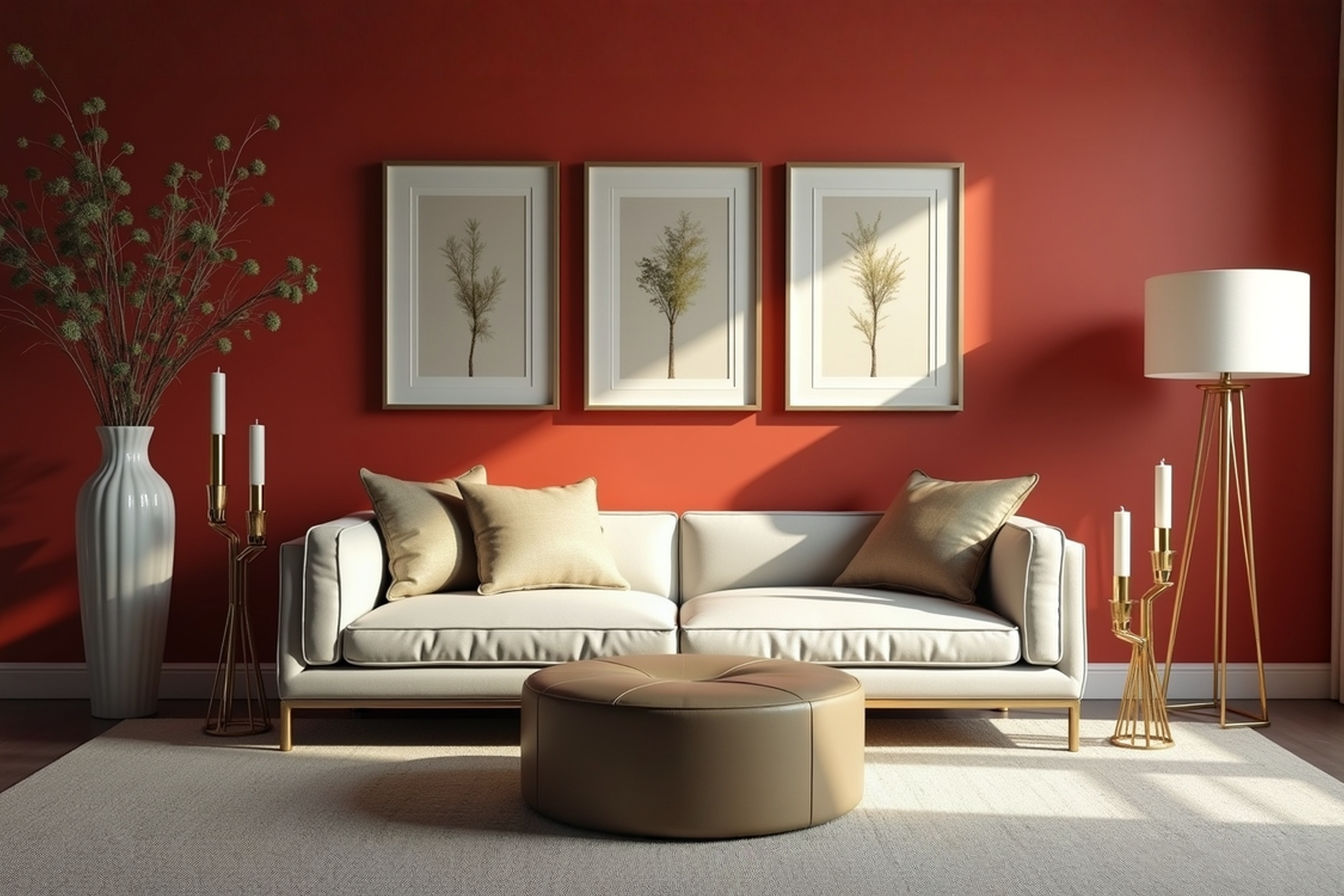
Project 1: Statement Wall Transformation
Few design elements deliver more visual impact per dollar spent than a well-executed statement wall. This focal point anchors your space and sets the tone for the entire room while requiring surprisingly little financial investment.
Paint offers the most affordable transformation with maximum flexibility. Beyond simple solid colors, consider these budget-friendly techniques: color blocking creates modern geometric patterns using painter’s tape; ombré effects transition between related shades for subtle sophistication; and stenciling adds pattern without the expense of wallpaper. For a 10’x10′ wall, expect to spend $30-50 on quality paint and basic supplies.
For those seeking more elaborate patterns without artistic skill, peel-and-stick wallpaper provides a renter-friendly alternative to traditional wallpaper at a fraction of the cost. Modern options offer impressive realism and durability, typically ranging from $1-3 per square foot. Most importantly, they remove cleanly when your style preferences change or leases end.
Creating your statement wall requires minimal specialized equipment. Gather painter’s tape, drop cloths, rollers, brushes, and a small step ladder. For wallpaper installations, add a squeegee tool and utility knife to your supply list. Proper preparation determines your results—clean the wall thoroughly, patch any holes, and apply painter’s tape along edges for crisp lines.
For a unique approach with significant texture, consider a wood accent wall using adhesive strips and inexpensive lumber. Pallet wood offers rustic character when cleaned and sealed properly, while thin craft boards create more refined patterns like herringbone or geometric designs. This approach typically costs $1-2 per square foot while adding natural warmth and dimension that paint alone cannot achieve.
The key to statement wall success lies in restraint—limit this treatment to one strategic wall rather than overwhelming the entire room. Perfect candidates include walls behind beds or sofas, dining areas, entries, or any naturally framed segment within an open floor plan.
Project 2: Upcycled Furniture Revival
Transforming existing furniture or thrift store finds represents one of the most dramatic budget-friendly room improvements. With thoughtful refinishing, outdated or damaged pieces become custom treasures that elevate your entire space.
Finding pieces with potential requires looking beyond current appearance to focus on structure and form. Solid wood pieces—even those with surface damage—offer excellent candidates for refinishing. Interesting shapes, quality construction, and good proportions indicate transformation potential even when current finishes appear dated or damaged. Thrift stores, yard sales, Facebook Marketplace, and even curbside discards yield surprising treasures for those willing to look past surface imperfections.
Before beginning your transformation, proper preparation ensures lasting results. Remove all hardware and store it safely (or budget for replacements if desired). Clean surfaces thoroughly with TSP substitute to remove built-up grime. For painted pieces, light sanding creates adhesion for new finishes. For wood refinishing, more intensive sanding may be necessary to remove old finishes completely. This preparation stage, while not glamorous, directly impacts the quality of your finished piece.
The transformation approach depends on your specific piece and desired outcome. Chalk paint (approximately $15-20 per quart) offers excellent coverage without extensive preparation and creates vintage-inspired finishes when distressed and waxed. Traditional paint with primer provides more contemporary results and greater durability for high-use surfaces. For natural wood, stains range from transparent finishes that highlight grain to opaque versions that completely change color while maintaining texture.
Beyond basic refinishing, consider creative modifications that personalize your piece. Replacing knobs and pulls updates appearance instantly for minimal cost. Adding trim pieces creates architectural interest on flat surfaces. Removing cabinet doors transforms closed storage into display opportunities. For the truly adventurous, combining elements from different pieces creates entirely custom furniture tailored perfectly to your needs and space.
The true power of furniture upcycling extends beyond savings—these revived pieces often become the most interesting and conversation-worthy elements in your room, showcasing both creativity and craftsmanship in a way mass-produced items never could.
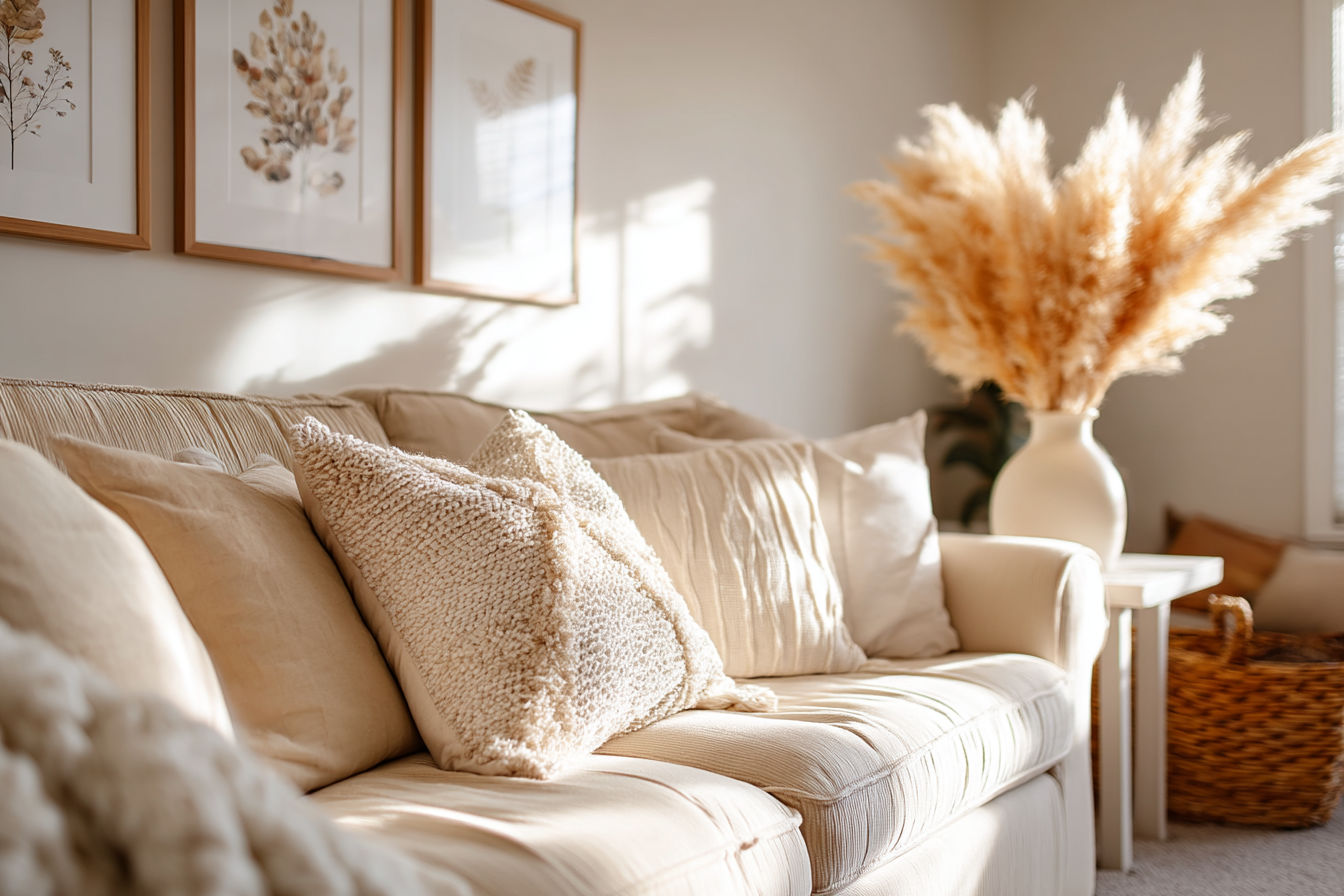
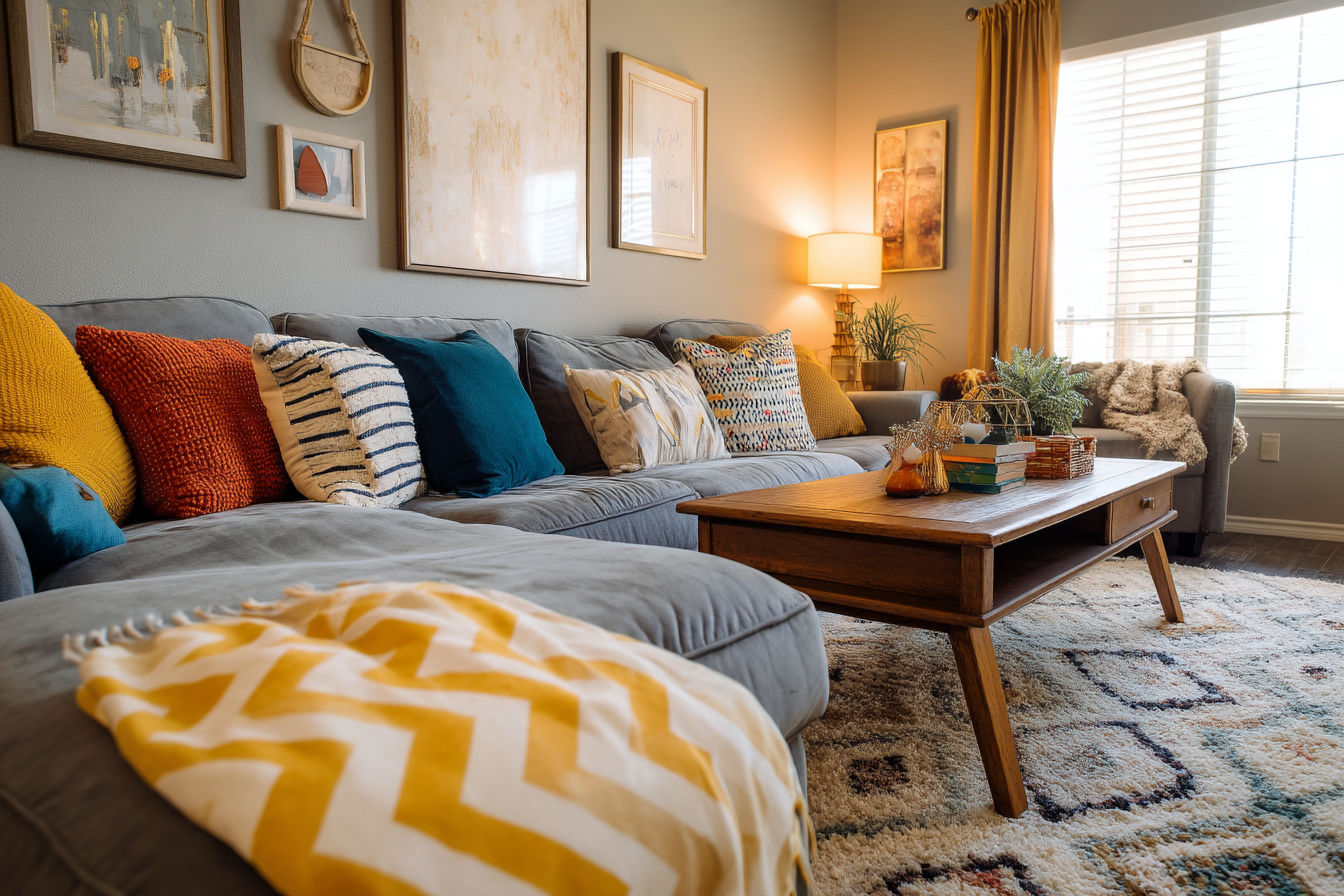
Project 3: Handcrafted Textile Accents
Textiles add essential warmth, texture, and color to spaces while offering some of the most accessible DIY opportunities. Even without sewing skills, you can create custom fabric elements that dramatically enhance your room’s appearance and comfort.
No-sew options open textile crafting to everyone, regardless of sewing experience. Hem tape (approximately $3-5 per package) creates finished edges on fabric using only an iron. Fabric glue ($3-7) secures layers without stitching. These simple tools enable you to create no-sew curtains, table linens, and even basic pillow covers without special equipment or techniques.
When selecting materials, look beyond traditional fabric stores for budget-friendly options. Flat sheets provide large fabric quantities at lower prices than equivalent yardage. Drop cloths offer neutral, heavyweight fabric perfect for curtains and slipcovers. Remnant sections often sell at steep discounts. Even attractive clothing from thrift stores can be repurposed into decorative elements at a fraction of new fabric cost.
For maximum impact with minimal effort, custom pillows transform seating areas instantly. Create simple envelope-style covers by folding fabric into three sections, overlapping the back pieces, and securing the sides with hem tape or basic straight stitching. For existing pillows that need refreshing, slipcovers extend life without replacement costs. Budget approximately $5-15 per pillow, depending on size and fabric source.
Window treatments dramatically influence how a room feels while offering excellent return on investment. No-sew curtain panels require only straight cuts and iron-on hem tape, yet completely transform light quality and privacy. For approximately $20-40 per window (depending on size and fabric choice), you can create treatments perfectly sized for your specific windows—a customization that would cost hundreds through commercial sources.
For those willing to attempt basic stitching, simple table linens like runners and napkins require only straight seams while adding significant personalization to dining spaces. Choose fabrics that reflect seasonal changes or specific occasions to create flexible options for different uses and moods throughout the year.
The beauty of DIY textile projects lies in their forgiving nature—even imperfect execution rarely compromises function, making them ideal starting points for beginning DIY enthusiasts.
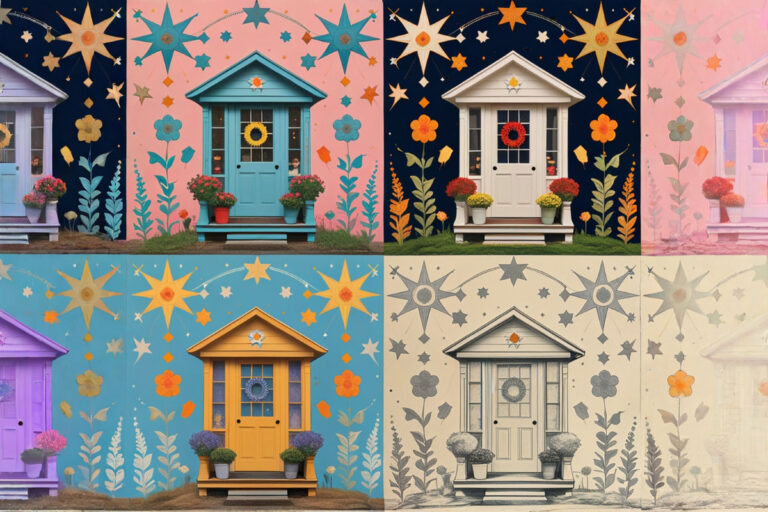
Project 4: Custom Wall Art Creation
Artwork significantly impacts a room’s personality while typically commanding the highest price points in commercial decor. Creating your own art installations delivers dramatic visual impact while expressing personal style more authentically than mass-produced pieces ever could.
Canvas possibilities offer accessible starting points for DIY artists of all skill levels. Pre-stretched canvases (available from $3-15 depending on size) provide ready-to-use surfaces for countless techniques beyond traditional painting. Create geometric designs using painter’s tape and color blocking. Apply tissue paper in overlapping colors for textured translucency. Experiment with textured mediums or metallics for dimensional effects. Even simple color washes create sophisticated backgrounds for meaningful quotes or silhouettes.
For those preferring framed approaches, think beyond conventional artwork. Framed fabric showcases beautiful textiles without sewing requirements. Botanical pressings preserve natural elements in artistic displays. Collections of similar items (vintage keys, antique postcards, children’s art) gain coherence and importance when matted and framed together. Basic frames from thrift stores transform with spray paint into coordinated collections regardless of their original finishes.
Three-dimensional installations create striking focal points without artistic training. Woven wall hangings using simple lap looms require only basic over-under techniques to create textured interest. Geometric wood assemblages transform inexpensive lumber into architectural art. Paper installations using folded elements create dramatic dimension from the most affordable material imaginable.
For the artistically uncertain, printable artwork offers another approach. Vintage botanical illustrations, architectural drawings, and maps available in the public domain can be downloaded and printed at office supply stores or home. When matted and framed thoughtfully, these pieces appear intentionally curated rather than budget-constrained.
The key to successful DIY art lies in deliberate presentation—professional mounting, consistent framing approaches, and thoughtful arrangement elevate even simple creations. Create groupings that work together through color, theme, or format while varying sizes and orientations for visual interest.
Project 5: Lighting Transformations
Lighting affects both functionality and atmosphere, yet commercial fixtures often carry surprisingly high price tags. DIY lighting projects dramatically alter how spaces feel while showcasing creative ingenuity.
Safety considerations must come first with any electrical project. Most DIY lighting transformations should focus on modifying existing, properly wired fixtures rather than creating new electrical connections. Always work with power turned off at the breaker, and use UL-listed components when replacing any electrical elements. If you’re uncertain about electrical work, focus on modifications that don’t require rewiring, like decorative shade replacements.
Lamp bases offer unlimited transformation potential. Textured paint techniques add dimension to plain bases. Wrapping with natural elements like rope creates organic texture. For complete transformations, thrift store vases, bottles, or sculptural objects convert to custom bases with lamp kits ($8-15) that require only a drilled hole and basic assembly.
Creative shades dramatically alter light quality and appearance. Replace generic drum shades with custom versions created from unexpected materials: perforated metal creates patterned light scatter; translucent vellum allows for custom printed designs; even wooden veneer strips create warm, glowing pattern when light shines through gaps. For existing shades, decorative trim additions, fabric recovering, or paint techniques update appearance without full replacement.
Alternative lighting elements extend beyond conventional lamps. String lights inside glass vessels create gentle ambient illumination. Flameless candles in groupings offer adjustable mood lighting. Solar-powered options eliminate cord management issues for areas without convenient outlets. These approaches supplement rather than replace task lighting while adding significant atmosphere.
For dramatic impact with minimal effort, consider a statement pendant conversion kit ($15-25) that installs over existing ceiling fixtures without rewiring. These kits transform builder-grade flush mounts into contemporary pendants through simple installation, instantly updating dining areas or entryways.
The most successful lighting transformations consider both daytime appearance and nighttime effect—your fixture should look intentional when unlit while creating the desired illumination pattern when activated.
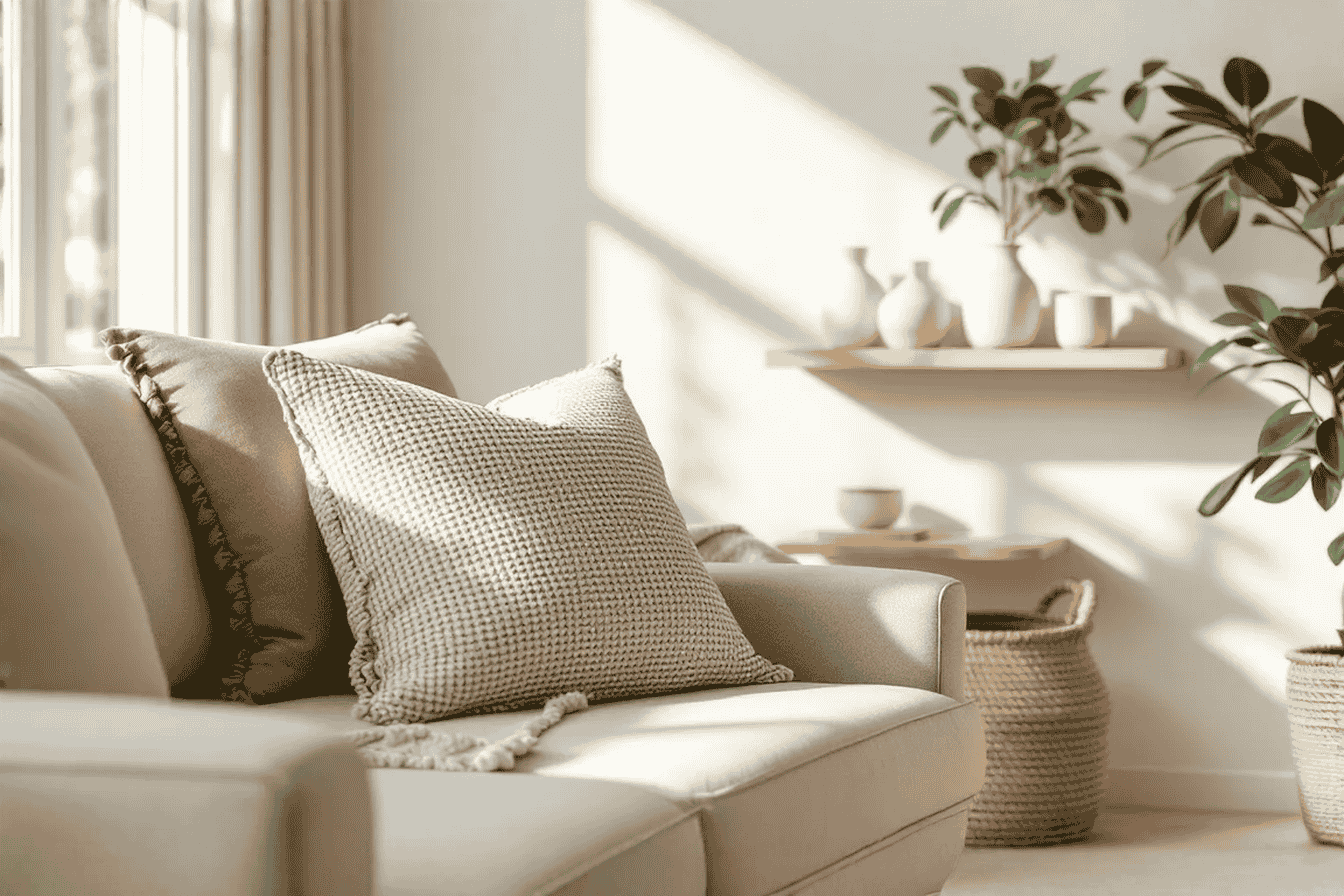
Project 6: Nature-Inspired Decor Elements
Natural elements add essential warmth, texture, and life to spaces while typically costing very little beyond creative effort. These organic additions connect interiors with the natural world while providing sustainable decor alternatives.
Botanical displays extend far beyond conventional houseplants. Create dramatic arrangements from foraged branches in tall vessels for structural impact without floral costs. Preserve seasonal elements through simple drying techniques: hang flowers upside down in dark, dry spaces; press leaves between absorbent paper inside heavy books; or use silica gel for three-dimensional preservation. These preserved elements create long-lasting displays that require no maintenance while showcasing seasonal changes.
Wood elements introduce important textural variation. Drift wood pieces become sculptural objects when mounted thoughtfully. Cross-sections of branches transform into wall installations or table accents. For more refined applications, salvaged wood creates floating shelves, decorative trays, or mounted vignette backgrounds at minimal cost compared to new materials.
Stone and mineral accents add substantial visual weight to arrangements. Collected rocks from meaningful locations become personal art when displayed in glass vessels or mounted in shadow boxes. Geodes and crystals create organic sculpture even in small pieces. Smooth river stones stacked in cairn formations bring meditative elements to any space.
For those seeking living elements without extensive maintenance, air plants and succulents thrive with minimal care. Display them in creative containers—hollowed wood, geometric metal frames, or vintage vessels—to enhance their natural beauty. These plants typically cost $3-8 each while lasting for years with proper care, offering exceptional decorative value.
The most important consideration when incorporating natural elements is balance—too few appear as afterthoughts while too many overwhelm. Group similar items for cohesive display, and consider how these organic elements contrast with and complement your existing decor for harmonious integration.
Project 7: Repurposed Storage Solutions
Strategic storage dramatically improves how spaces function while offering extensive DIY opportunities. By reimagining existing containers and unexpected objects, you can create storage that enhances rather than detracts from your design vision.
Finding unique containers requires creative vision. Vintage suitcases stack into interesting nightstands with hidden storage. Wooden crates mount horizontally or vertically for flexible shelving. Metal baskets organize while adding industrial elements. The ideal repurposed storage balances visual appeal with practical function—containers should look intentional rather than merely utilitarian.
Transformation techniques enhance both appearance and functionality. Consider these approaches for various container types: wooden pieces often benefit from light sanding and fresh paint or stain; metal containers might need rust removal before clear coating for preservation; fabric covering renews cardboard or plastic containers; and liner papers add unexpected color inside drawers or cabinets. These modifications integrate utilitarian elements into your overall design scheme.
Organization principles maximize the effectiveness of any storage solution. Group similar items together for visual calm. Use smaller containers within larger ones to prevent item migration. Consider frequency of use when determining accessibility—daily items deserve convenient placement while occasional needs can occupy less accessible spaces. These principles apply regardless of container type or decorative style.
For visible storage, consider the visual composition of displayed items. Color coordination creates cohesion among diverse objects. Varying heights and shapes creates visual rhythm. Negative space prevents cluttered appearance. These considerations transform necessary storage into deliberate design elements rather than functional compromises.
The most successful repurposed storage incorporates unexpected elements that prompt conversation while perfectly meeting specific needs—vintage library card catalogs organizing craft supplies, industrial pipework supporting bathroom shelving, or antique apothecary cabinets storing kitchen spices all create distinctive character while providing essential organization.
Project 8: Personalized Accent Pieces
Small decorative elements collectively define a room’s personality while offering the most accessible DIY opportunities. These finishing touches transform spaces from generically pleasant to distinctively yours through personal significance and customized appearance.
Meaningful displays showcase important memories and interests. Shadow boxes preserve three-dimensional memorabilia in protective presentation. Printer’s trays or divided wooden boxes display collected miniatures. Digital photo displays rotate through images without physical photo printing costs. These collections tell your unique story through carefully curated items that carry personal significance.
Decorative containers blend function with visual appeal. Glass jars transform with metallic paint applied to interiors. Plain boxes gain distinction through decoupage of meaningful images or decorative papers. Fabric covering renews ordinary storage bins. These containers manage necessary items while contributing to overall design impact.
Tabletop elements create important dimensional variation. Decorative trays corral smaller items into intentional groupings. Stacked books (chosen for spine color as much as content) create elevated display surfaces. Sculptural objects—whether handcrafted or thoughtfully selected—provide essential height variation and visual interest points.
The creation process for these elements often involves simple embellishment techniques accessible to anyone. Basic decoupage requires only adhesive medium and decorative paper. Stenciling creates precise designs without artistic skill. Washi tape applies pattern without permanent commitment. These approaches transform ordinary objects into coordinated custom pieces that perfectly complement your specific space.
When selecting and creating accent pieces, prioritize items that serve specific purposes beyond mere decoration. A beautiful container that also stores remote controls, a decorative tray that catches keys by the door, or wall hooks that display favorite hats all merge function with aesthetics for mindful design that enhances daily life.
The power of these small elements lies in their collective impact—while no single accent defines a space, their combined presence creates the detailed richness that distinguishes thoughtfully designed rooms from merely furnished ones.
Tips for Successful DIY Room Transformations
Approaching your room transformation strategically dramatically improves both process and results. These guiding principles help navigate common challenges while maximizing your creative investment.
Effective planning prevents costly mistakes. Create a comprehensive vision before beginning individual projects to ensure cohesive results. Gather inspiration images, create basic sketches, and consider how elements will work together. For complex projects, small tests or mock-ups prevent full-scale disappointments. This preparation phase often feels unnecessary when excitement builds, but ultimately saves both time and resources.
Budget allocation requires thoughtful prioritization. Distribute your available funds strategically by investing more in high-impact elements and finding creative solutions for less visible components. Allocate approximately 60% to focal points and pieces you interact with daily, 30% to secondary elements, and 10% to final accessories. This proportional approach ensures your most important elements receive adequate resources.
Time management recognizes DIY reality. Most projects take longer than anticipated, especially for beginners. Schedule specific work sessions rather than assuming “free time” will materialize. Break larger projects into manageable segments that can be completed in available time blocks. This realistic approach prevents half-finished projects from lingering indefinitely.
Troubleshooting develops through experience, but certain principles apply universally. Keep basic supplies (wood filler, touch-up paint, adhesive) available for quick fixes. Document successful techniques for future reference. Join online DIY communities for specific advice when challenges arise. Most importantly, maintain perspective—minor imperfections often remain noticeable only to the creator while adding character that distinguishes handcrafted from mass-produced.
The most successful DIY decorators maintain flexibility throughout the process. Sometimes materials behave unexpectedly, brilliant ideas prove impractical in execution, or available resources dictate direction changes. Embracing these developments often leads to more interesting and personal results than rigidly following initial plans.
Remember that DIY transformation focuses on progress rather than perfection—each project builds skills for future endeavors while gradually creating spaces that truly reflect your personal vision and needs.
Conclusion
The eight transformation projects we’ve explored demonstrate how creativity and effort often matter more than substantial financial investment when creating spaces that reflect your personality and meet your needs. By taking a DIY approach to room decoration, you gain not just financial savings but also personal connection to your environment that purchased solutions rarely provide.
Begin your transformation journey with smaller projects that build confidence and skills before tackling more complex endeavors. Each successful completion provides both immediate satisfaction and expanded capabilities for future projects. This gradual approach prevents overwhelm while creating meaningful progress toward your vision.
The long-term impact of DIY decor extends beyond visual transformation. You develop valuable skills, creative problem-solving abilities, and deeper appreciation for craftsmanship. Your home becomes a dynamic expression of your evolving style rather than a static reflection of trending mass-market aesthetics. Most importantly, you create spaces infused with personal significance rather than merely filled with possessions.
Your transformation journey begins with a single project. Select one element from this guide that particularly resonates with your needs and preferences, gather your supplies, and start creating. Each step moves you closer to spaces that truly feel like home—crafted thoughtfully, reflecting your unique story, and nurturing daily life without unnecessary expense.
What will you create first?