This post may contain affiliate links. If you make a purchase through these links, we may earn a commission at no additional cost to you.
The secret to a beautifully decorated home isn’t always found in expensive designer stores or high-end boutiques. With creativity, patience, and a few simple techniques, you can transform humble dollar store findings into stunning statement pieces that look remarkably upscale. The growing movement toward budget-friendly home decor has revolutionized how we approach interior design, making stylish living accessible to everyone regardless of budget constraints.
This trend toward upscaling inexpensive items reflects both economic practicality and the desire for personalized spaces that truly represent individual style. When guests marvel at your elegant home accents and ask where you found such distinctive pieces, you’ll experience the unique satisfaction of responding, “I made it myself—and you won’t believe where I got the materials.”
In this comprehensive guide, we’ll explore eleven impressive DIY projects that elevate ordinary dollar store items into designer-worthy home decor. Each transformation demonstrates how vision and technique can bridge the gap between bargain basics and luxurious design. These projects don’t just save money—they allow for customization that mass-produced expensive items simply can’t offer.
The Art of Dollar Store DIY: Principles for Success
Before diving into specific projects, understanding fundamental principles will dramatically improve your results. Transforming inexpensive items into upscale decor requires more than just creativity—it demands attention to detail and proper execution.
Select quality base items. Not all dollar store merchandise is created equal. Look for pieces with clean lines, good proportions, and solid construction. Simple, minimalist items often have the most potential for elegant transformation. When examining glassware, choose pieces without bubbles or visible seams. For frames or decorative objects, seek items with interesting shapes but minimal embellishment.
Proper preparation makes all the difference. The distinction between amateur and professional-looking results often comes down to preparation. Thoroughly cleaning items, sanding rough surfaces, and applying appropriate primers ensure that your finishes adhere properly and look smooth. Never skip these crucial steps, as they form the foundation for a truly high-end appearance.
Invest in the right tools and supplies. While dollar store items form the base of these projects, quality transformation materials are worth the investment. High-quality spray paint, adhesives, and finishes elevate the final product significantly. Consider these materials an investment in multiple projects, as most will last through several creative endeavors.
Apply design principles intentionally. Understanding basic design concepts like balance, proportion, and color theory helps create professional results. Consider contemporary trends while maintaining timeless appeal. The most successful dollar store transformations don’t try to mimic expensive items exactly—instead, they incorporate design elements that signal quality and intentionality.
Elegant Glass Transformation Projects
Project 1: Faux Mercury Glass Candle Holders
Mercury glass, with its antiqued, silvery finish, adds instant elegance to any space. Creating this effect with dollar store glass items produces stunning results that rival expensive versions from specialty retailers.
Materials needed:
- Clear glass candle holders or vases
- Mirror-effect spray paint
- Water in a spray bottle
- White vinegar
- Paper towels
Transformation process:
- Clean the glass thoroughly with vinegar and water to remove any residue.
- Spray the inside of the glass lightly with a mixture of water and vinegar.
- Immediately spray the mirror-effect paint inside, allowing it to react with the water mixture.
- Dab gently with paper towels to create an authentic weathered pattern.
- Allow to dry completely before adding a second coat if desired.
The resulting candle holders feature a beautifully mottled, reflective finish that mimics authentic mercury glass perfectly. When displayed with quality candles, these pieces create a soft, romantic glow that enhances dinner parties or everyday ambiance. Group various heights together for a collected, curated appearance that suggests they were acquired from an upscale home store.
Project 2: Gold-Rimmed Decorative Vases
Simple glass vases transform into sophisticated decorative elements with the addition of metallic detailing. This project creates vessels worthy of displaying fresh blooms or standing alone as sculptural objects.
Materials needed:
- Plain glass vases
- Gold liquid gilding or metallic paint
- Painter’s tape
- Small detailing brush
- Clear protective sealer
Transformation process:
- Clean glass thoroughly and allow to dry completely.
- Apply painter’s tape to create precise edges for your gold detail.
- Using a small brush, apply gold gilding to the rim, creating an even band.
- For additional sophistication, add a secondary band at the base.
- Allow to dry completely before sealing with a clear protective finish.
These elegant vases mimic high-end designer pieces found in luxury home stores. The metallic detail catches light beautifully, adding dimension and interest to your tablescape or shelf display. For maximum impact, arrange these vessels with simple greenery or monochromatic flower arrangements that highlight their refined silhouettes.
Wall Art and Display Creations
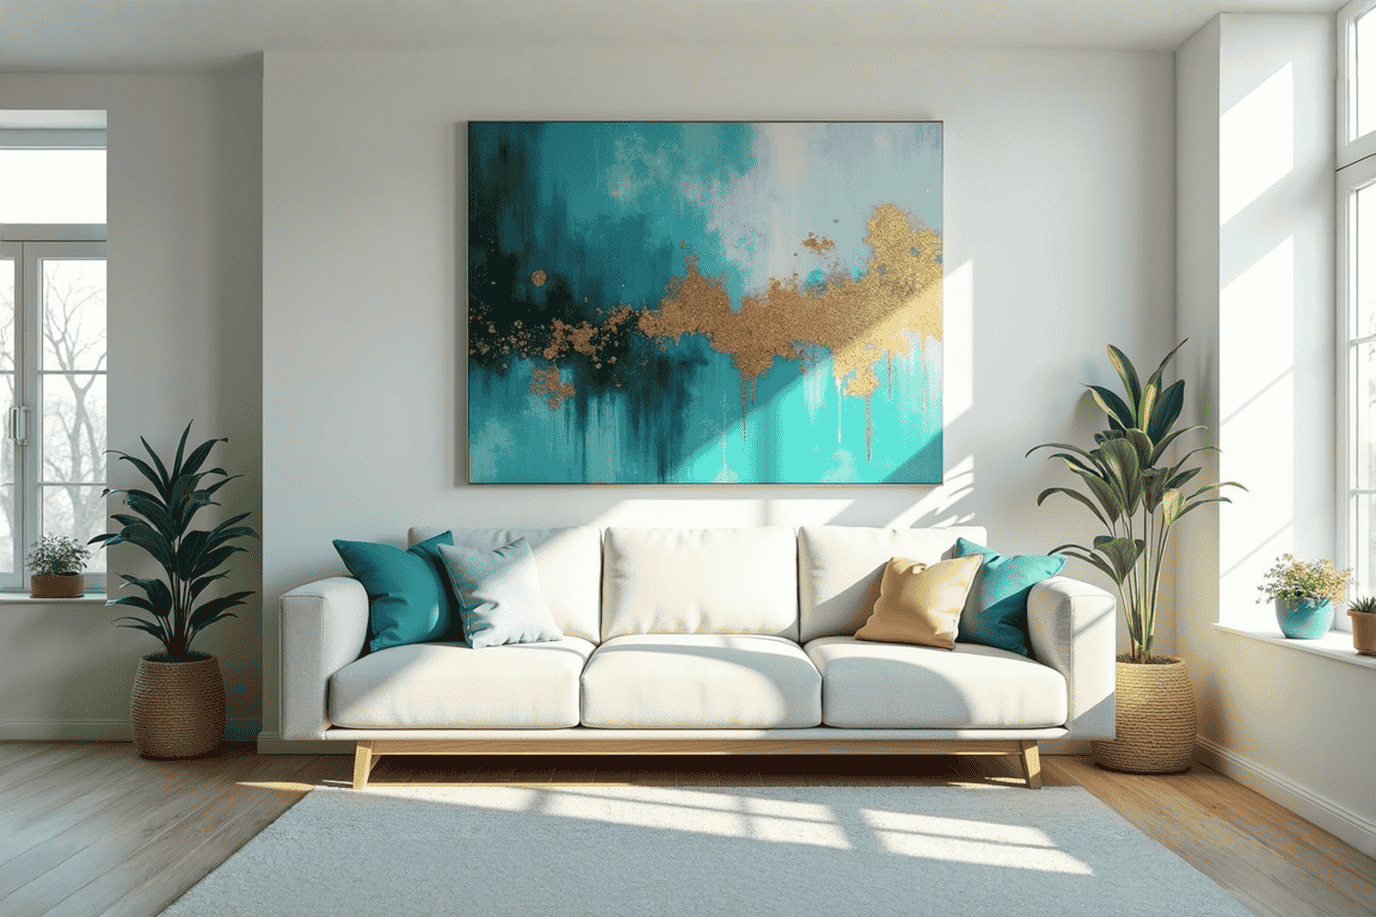
Project 3: Large-Scale Abstract Canvas Art
Original artwork can be prohibitively expensive, but creating your own large-scale abstract pieces allows for custom colors that perfectly complement your space while adding significant visual impact.
Materials needed:
- Dollar store canvas (multiple small ones can be joined)
- Acrylic paints in your chosen color palette
- Various applicators (brushes, palette knives, sponges)
- Metallic acrylic paint or gold leaf
- Clear acrylic sealer
Transformation process:
- Prime the canvas with a base coat that coordinates with your color scheme.
- Build layers of color using different application techniques for texture and depth.
- Add metallic accents strategically to create focal points and catch light.
- Consider incorporating simple geometric elements for a contemporary look.
- Seal the finished piece with clear acrylic sealer for longevity.
The resulting artwork becomes a sophisticated focal point that appears custom-commissioned. The key to success lies in working within a controlled color palette and applying techniques that create texture and depth. These pieces often become conversation starters, with guests never suspecting they began as dollar store materials.
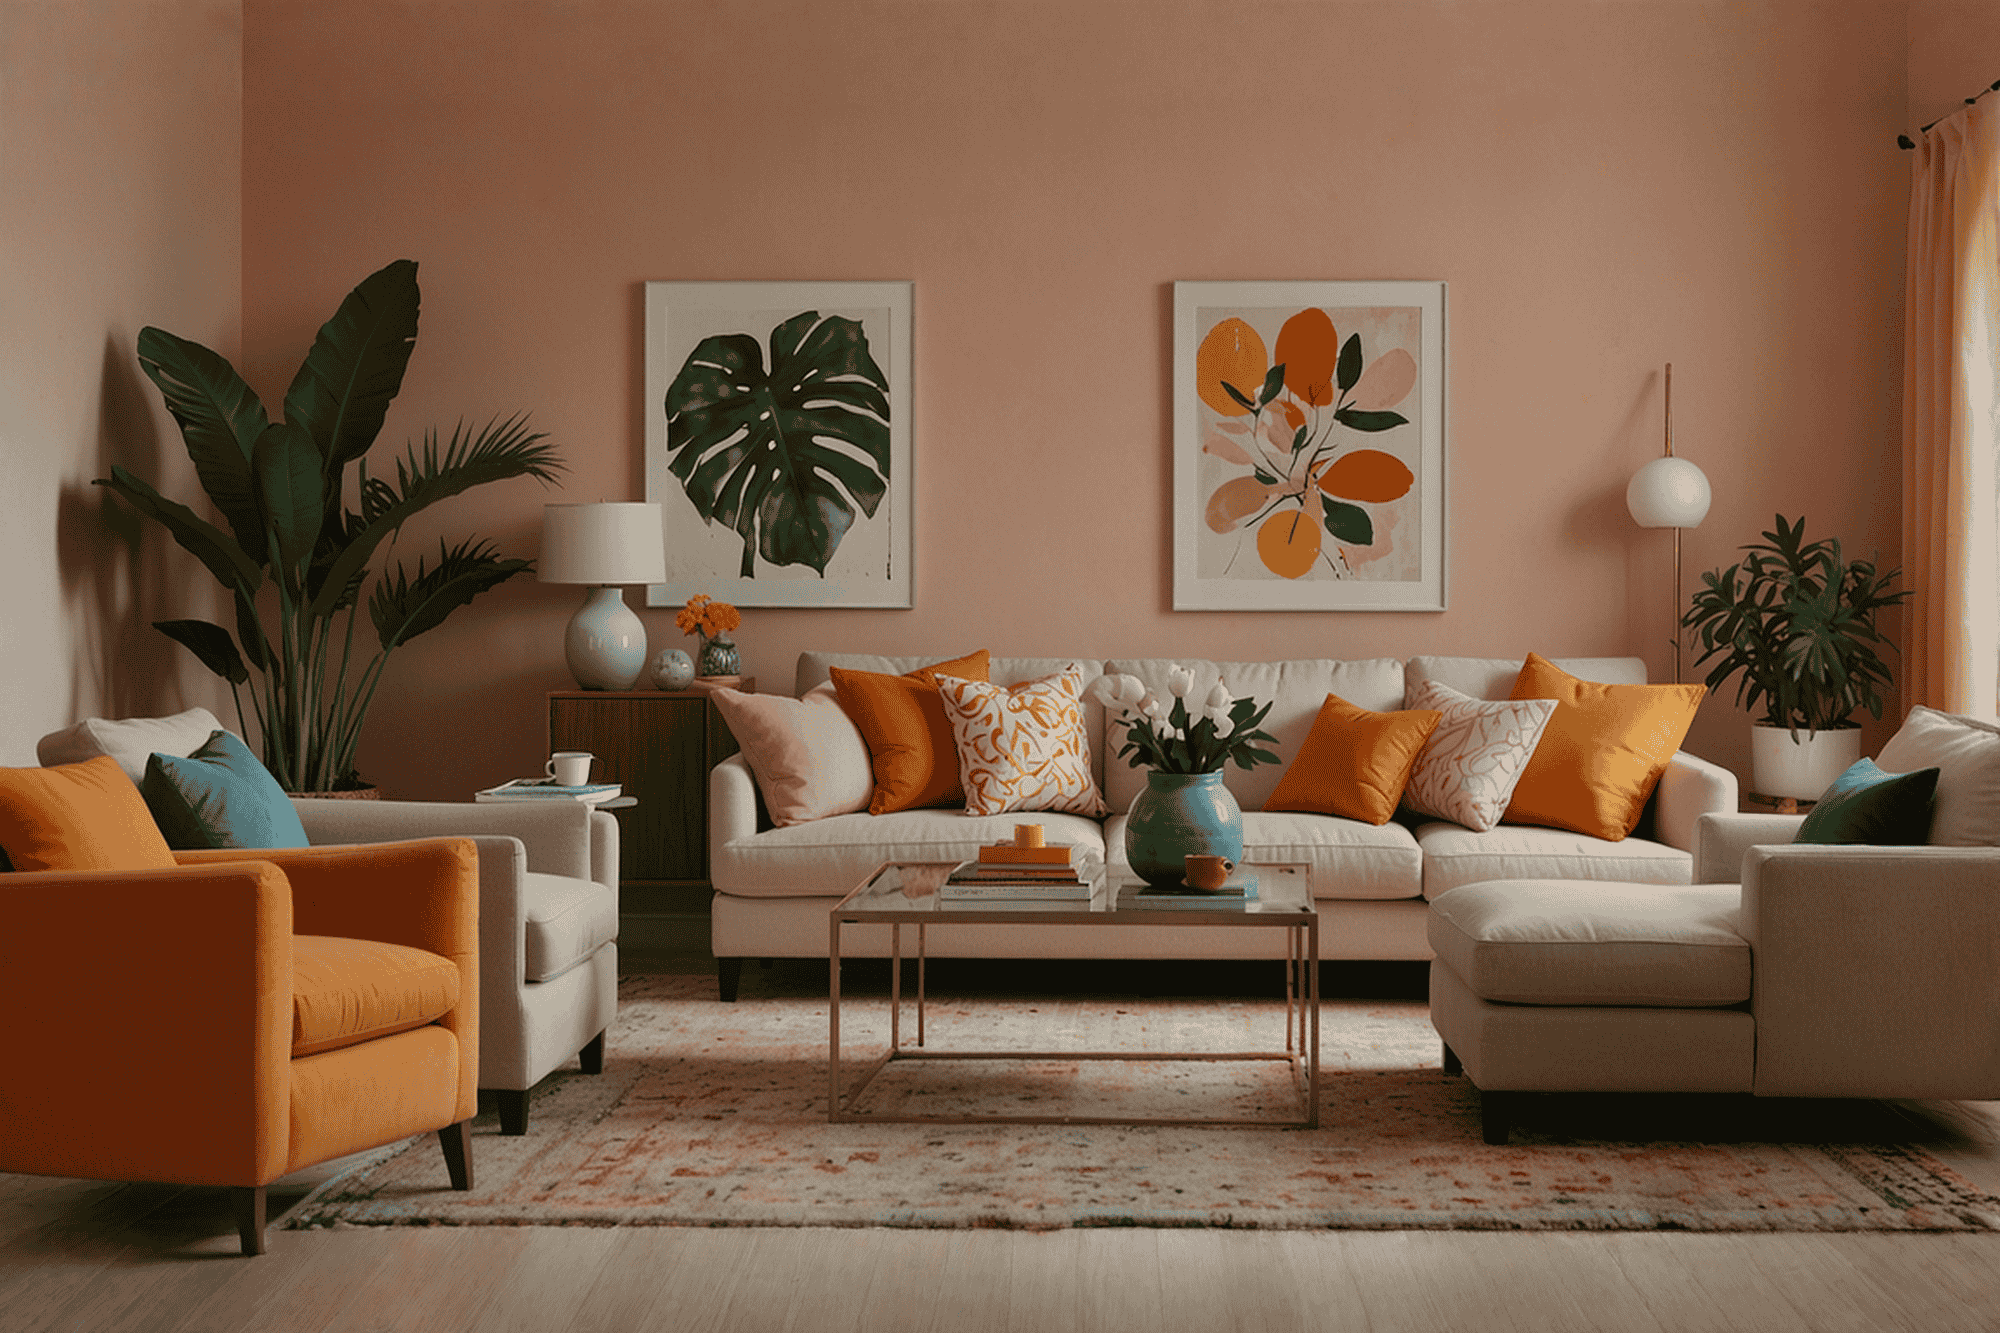
Project 4: Framed Botanical Prints
Botanical prints have remained a classic decorative element in well-designed homes for centuries. Creating your own framed collection offers timeless appeal with a remarkably upscale presentation.
Materials needed:
- Dollar store frames with glass
- High-quality botanical printables (available free online)
- Cream or off-white cardstock
- Metallic gold marker or paint pen
- Mounting supplies
Transformation process:
- Spray paint frames in a sophisticated color (matte black, antiqued gold, or crisp white).
- Print botanical images on quality cardstock.
- For extra refinement, add a thin gold border around each print using a metallic marker.
- Mount prints precisely in frames, ensuring perfect centering.
- Arrange as a gallery collection for maximum impact.
When displayed as a cohesive collection, these framed botanicals create the impression of a carefully curated art investment. The consistent treatment of frames and matting suggests intentional design choices rather than budget constraints. This project demonstrates how thoughtful presentation elevates simple elements into sophisticated decor.
Textile Transformations
Project 5: Custom Throw Pillow Covers
Designer throw pillows often command surprisingly high prices, but creating custom covers from dollar store textiles delivers the same high-end look at a fraction of the cost.
Materials needed:
- Dollar store tablecloths, placemats, or fabric napkins
- Sewing machine or fabric adhesive
- Decorative trim, tassels, or fringe
- Invisible zippers (optional)
- Pillow forms
Transformation process:
- Select textiles with interesting patterns or textures that complement your existing decor.
- Cut fabric to size, allowing for seam allowances.
- Add sophisticated details like contrast piping or decorative trim.
- Install an invisible zipper for a professional finish, or create an envelope closure.
- Insert a quality pillow form—slightly oversized for a plump, luxurious appearance.
The resulting pillow covers offer a custom look impossible to find in mass-produced options. The secret to their upscale appearance lies in thoughtful fabric selection and professional finishing details. When styled on sofas or beds, these custom pieces create a cohesive, designed look that suggests they were selected by an interior decorator.
Project 6: Transformed Table Runners and Placemats
Table linens set the foundation for elegant entertaining. Customized pieces create a cohesive tablescape that elevates everyday dining into a special experience.
Materials needed:
- Plain dollar store table runners or placemats
- Fabric paint or dye
- Stencils or stamps
- Decorative ribbon or trim
- Fabric sealer
Transformation process:
- If using fabric paint, create a custom pattern using stencils or hand-painting techniques.
- For dyeing, experiment with ombré effects or color blocking for contemporary appeal.
- Add refined trim or a border to edges for a custom, finished look.
- Press carefully and treat with fabric sealer if needed for durability.
- Layer on tables with complementary dishware and accessories.
These transformed textiles bring cohesive design to your dining space, suggesting intention and attention to detail. The customized nature of the pieces creates a distinctive look impossible to achieve with standard store-bought items. When hosting dinner parties, these bespoke linens set a sophisticated foundation that elevates the entire dining experience.
Furniture and Larger Piece Makeovers
Project 7: Luxurious Storage Ottoman Transformation
Storage ottomans serve both practical and aesthetic purposes in well-designed rooms. Transforming a basic version into a luxurious piece creates functional elegance that enhances your entire space.
Materials needed:
- Basic storage ottoman from discount store
- Quality upholstery fabric
- Decorative nailhead trim
- New furniture legs (optional)
- Staple gun and upholstery tools
Transformation process:
- Remove existing cover and preserve the underlying structure.
- If changing legs, install new ones designed for furniture—metal hairpin or tapered wood versions add contemporary style.
- Cut upholstery fabric with adequate allowance for wrapping and securing.
- Wrap and staple fabric tightly, creating crisp corners and even tension.
- Apply nailhead trim in a precise pattern along edges or in decorative motifs.
The transformed ottoman rivals expensive designer versions, offering both beauty and function. Selecting quality fabric with subtle texture or a small pattern elevates the piece beyond its humble origins. When placed in a living space, this custom ottoman suggests thoughtful investment in quality furnishings rather than budget-conscious decorating.
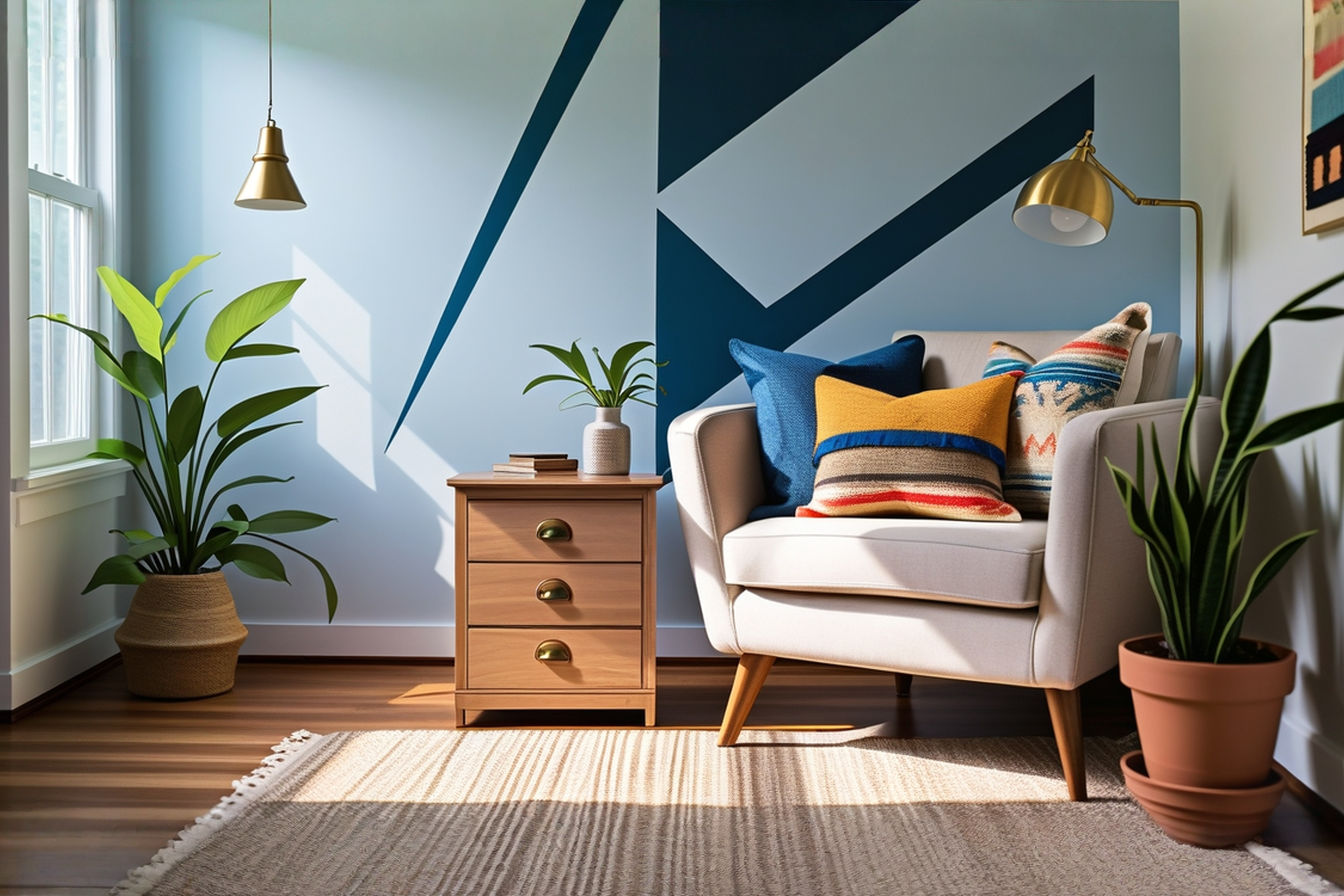
Project 8: Designer-Inspired Side Table Makeover
Side tables anchor furniture groupings while providing practical surfaces. Transforming basic tables into designer-inspired pieces creates focal points that enhance your overall decor scheme.
Materials needed:
- Simple side table from discount store
- High-quality furniture paint
- Gold leaf or metallic paint
- Clear polyurethane sealer
- New hardware (if applicable)
Transformation process:
- Disassemble the table if possible, removing any hardware.
- Sand all surfaces and apply appropriate primer.
- Apply furniture paint in thin, even coats, sanding lightly between applications.
- Add metallic accents to edges, legs, or decorative elements.
- Finish with multiple coats of clear sealer for durability and sheen.
The resulting side table exhibits the custom details and quality finish associated with high-end furniture. Strategic use of metallic accents creates visual interest while suggesting luxury. When styled with curated accessories, this transformed piece becomes an integral element of a sophisticated design scheme that appears deliberately selected rather than budget-constrained.
Decorative Accents and Finishing Touches
Project 9: Statement Bookends
Bookends serve as both functional items and decorative accents. Creating custom versions adds personality while organizing shelves in a purposeful manner.
Materials needed:
- Dollar store heavy objects (like figurines or decorative boxes)
- Non-slip material for bases
- Metallic or high-quality spray paint
- Adhesive
- Decorative elements for customization
Transformation process:
- Clean items thoroughly and apply appropriate primer.
- Spray paint in a sophisticated color that complements your decor.
- Add custom details such as gold leaf accents or decorative paper applications.
- Attach non-slip material to bases to protect books and surfaces.
- Seal completely for a durable, uniform finish.
These custom bookends appear as curated decor pieces rather than utilitarian objects. Their personalized nature adds character to shelving while performing a practical function. When displayed among books and decorative objects, these transformed items suggest thoughtful attention to even the smallest details in your decorating scheme.
Project 10: Custom Decorative Trays
Decorative trays appear in virtually every well-styled home, corralling objects into intentional groupings. Creating custom versions allows for perfect color coordination and unique styling opportunities.
Materials needed:
- Dollar store plastic or wooden trays
- Quality spray paint suitable for the material
- Decorative handles (optional)
- Patterned paper or fabric for lining (optional)
- Clear sealer
Transformation process:
- Clean and sand trays to create a receptive surface for paint.
- Apply thin coats of quality spray paint, allowing proper drying time between applications.
- For extra elegance, line the interior with decorative paper sealed with Mod Podge.
- Attach new handles if desired for a furniture-like appearance.
- Seal the entire piece for durability and a uniform finish.
These custom trays function beautifully on coffee tables, vanities, or entry consoles. Their coordinated appearance suggests they were selected specifically for your space rather than purchased as budget items. When styled with carefully chosen objects, these trays create intentional vignettes that enhance your overall design scheme.
Project 11: Sculptural Decorative Objects
Decorative objects add personality and visual interest to styled surfaces. Creating custom sculptural pieces allows for perfect color coordination while adding artistic elements to your space.
Materials needed:
- Dollar store figurines, geometric shapes, or interesting forms
- Quality spray paint in coordinating colors
- Metallic wax or paint for accents
- Small paintbrushes for details
- Clear sealer
Transformation process:
- Remove any stickers or price tags and clean thoroughly.
- Apply quality primer appropriate for the material.
- Spray paint in sophisticated colors that complement your palette.
- Add metallic accents to highlight interesting details or create contrast.
- Apply several coats of clear sealer for a professional finish.
These transformed objects add the finishing touches that complete well-designed spaces. Their customized nature allows for perfect color coordination with your existing decor. When displayed on shelves, mantels, or tables, these pieces suggest an edited collection acquired over time rather than budget-conscious decorating solutions.
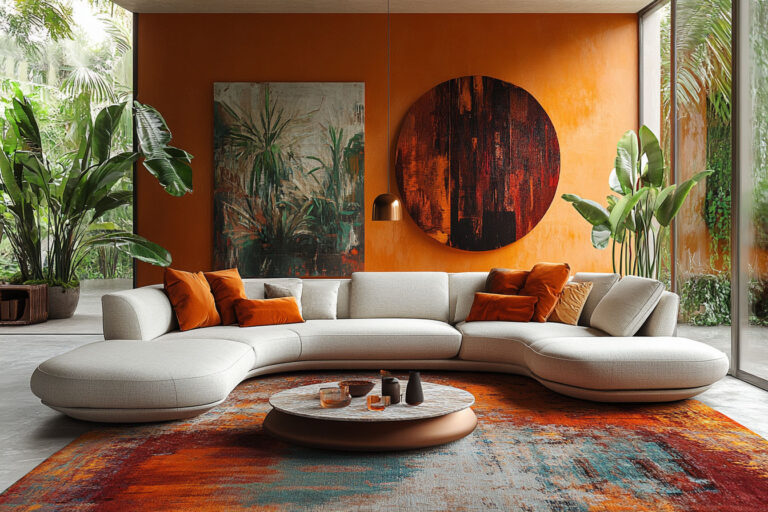
Styling Tips for Maximum Impact
Creating beautiful individual pieces represents only half the transformation journey. Styling these items effectively ensures they achieve their full potential in elevating your space.
Curate thoughtful collections rather than displaying single items. Grouping transformed pieces with complementary objects creates the impression of an intentionally developed collection. Consider relationships between items based on color, theme, or material for cohesive arrangements that appear collected over time rather than created at once.
Establish meaningful focal points in each room. Position your most impressive transformations where they naturally draw attention—centered on mantels, anchoring coffee tables, or commanding wall space. Supporting pieces should enhance these focal elements without competing for attention, creating a visual hierarchy that guides the eye effectively.
Coordinate color schemes intentionally throughout connected spaces. Your transformed items should reflect a consistent palette that flows from room to room, suggesting thoughtful planning rather than improvised decorating. This doesn’t mean matching everything exactly—instead, develop a cohesive color story with complementary tones and strategic accents.
Layer elements with purpose. Professional designers create depth through careful layering—placing objects at varying heights, incorporating different textures, and considering negative space. Apply this technique by positioning transformed items at different distances from the wall, varying heights on surfaces, and ensuring adequate breathing room between elements.
Common Mistakes to Avoid
Even the most creative DIY enthusiasts occasionally encounter pitfalls when transforming dollar store items. Awareness of these common mistakes helps ensure professional results.
Resist the temptation to overdecorate. The distinction between upscale spaces and cluttered ones often comes down to editing. Select only your most successful transformations for display, allowing each piece adequate space to shine. Remember that negative space serves as an important design element, providing visual rest and highlighting your best work.
Never underestimate preparation requirements. The most common reason dollar store transformations look homemade rather than professional involves inadequate preparation. Skipping proper cleaning, priming, or surface preparation inevitably leads to disappointing results. Invest time in these foundational steps for truly impressive outcomes.
Avoid mismatched design elements that create visual discord. Each transformed piece should relate harmoniously to your overall aesthetic through color, style, or purpose. Introducing items that clash with your established scheme diminishes the sophisticated impression you’ve worked to create. Maintain consistency in finish qualities, metallic tones, and stylistic approaches.
Recognize when quality matters most. While dollar store items form the foundation of these projects, certain materials—particularly paints, adhesives, and sealers—significantly impact final results. Investing in quality finishing materials elevates the entire project, while cutting corners in these areas often reveals the budget nature of your creations.
Conclusion
The transformation from dollar store finds to designer-worthy decor represents more than simple money-saving strategies—it embodies creativity, resourcefulness, and personal expression. These projects demonstrate how vision and technique can elevate the ordinary into something truly special, allowing you to create a home that reflects your unique style without compromising on appearance.
Beyond aesthetics, these transformations offer environmental benefits through creative reuse. By reimagining existing items rather than purchasing new ones, you participate in sustainable decorating practices that reduce waste while creating beauty. This approach aligns perfectly with contemporary values regarding consumption and environmental responsibility.
Perhaps most importantly, these projects build confidence in your creative abilities. Each successful transformation reinforces your design instincts and technical skills, empowering you to tackle increasingly ambitious projects. The satisfaction of creating beautiful surroundings with your own hands provides rewards that extend far beyond financial savings.
As you begin your own dollar store transformations, remember that the most impressive results come from patience, attention to detail, and willingness to experiment. Your home deserves thoughtful decoration that reflects your personality and style—these projects make that possible regardless of budget constraints. The journey from dollar store to designer isn’t just about creating beautiful objects; it’s about crafting a beautiful life in spaces that truly feel like home.